Maintaining the integrity and appearance of a yacht is crucial for any boat owner. Over time, even the most meticulously maintained yachts may encounter issues related to wear and tear, particularly those made from fiberglass. Fiberglass yachts are renowned for their durability and sleek design, yet they are not immune to damage. Cracks, chips, and gouges can occur due to various factors like collision, weather conditions, or general aging. Understanding effective repair techniques is essential for keeping a yacht in top-notch condition. This guide offers expert insights into fiberglass yacht repair to help yacht owners address common issues effectively.
Understanding Fiberglass Damage
Before embarking on any repair work, it is important to understand the type of damage that has occurred. Fiberglass damage can be categorized into different types:
- Surface Cracks: These are minor and often only affect the gel coat layer.
- Gouges and Chips: Typically deeper than surface cracks, they may expose the fiberglass mat.
- Structural Damage: This is more severe and can compromise the structural integrity of the yacht. Professional assessment is advisable.
Essential Tools and Materials
Having the right tools and materials is crucial for a successful repair. Here is a checklist of essentials:
- Sandpaper (various grits)
- Fiberglass repair kit
- Polyester resin and hardener
- Paintbrushes and rollers
- Protective gear (gloves, mask, goggles)
Step-by-Step Repair Process
Preparation
Before starting the repair, clean the damaged area thoroughly to remove any dirt, grease, or salt deposits. Ensure the yacht is in a dry and well-ventilated area.
Assessing the Damage
Examine the extent of the damage to determine the best repair approach. For minor surface cracks, sanding and gel coat application might suffice. However, deeper gouges may require more intensive repairs involving fiberglass matting.
Repairing Minor Surface Damage
- Sand down the affected area using fine-grit sandpaper until the surface is smooth.
- Apply a new layer of gel coat using a brush or roller.
- Allow the gel coat to cure fully before sanding it again to achieve a smooth finish.
Repairing Structural Damage
- Sand the damaged area to expose the fiberglass mat.
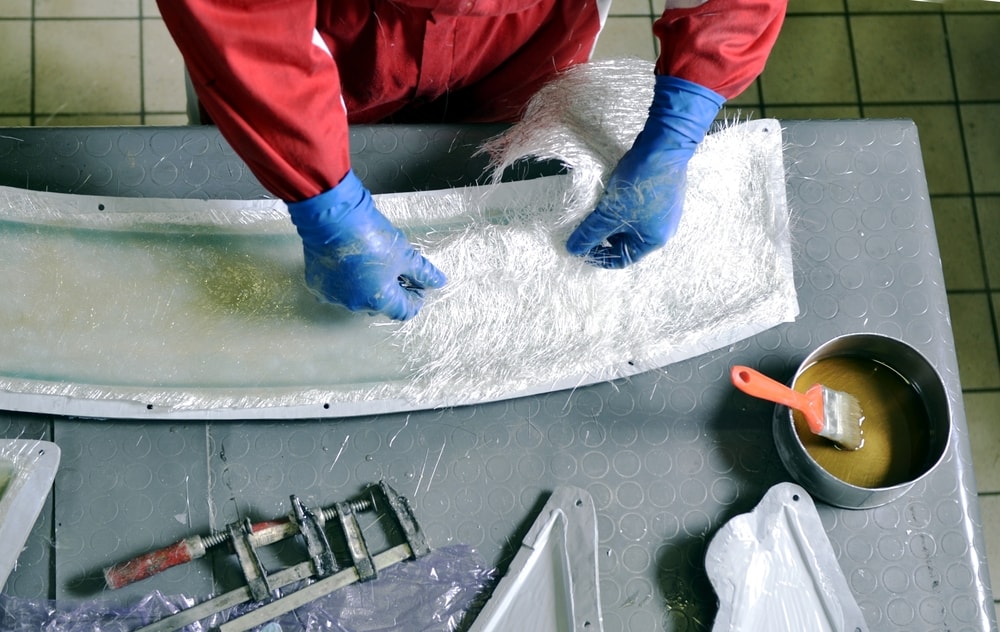
- Cut a piece of fiberglass mat to cover the area completely.
- Mix the polyester resin and hardener according to the instructions.
- Apply a layer of resin over the sanded area, place the fiberglass mat on top, and apply more resin to saturate the mat.
- Allow it to cure, then sand and finish with gel coat as necessary.
Finishing Touches
Once the repairs are complete, finishing touches are essential to restore the yacht’s aesthetic appeal. This involves sanding the repaired area to a smooth finish, applying a topcoat or paint to match the rest of the yacht, and polishing the surface to ensure a seamless look.
Preventive Maintenance Tips
To minimize the need for future repairs, regular maintenance is key. Here are some preventive measures:
- Conduct regular inspections for any signs of damage.
- Keep the yacht clean to prevent salt and dirt buildup.
- Apply a protective wax coating to the hull.
- Store the yacht properly during off-seasons to protect it from harsh weather.
By following these expert tips and techniques for fiberglass yacht repair, yacht owners can maintain their vessels in optimal condition, ensuring both longevity and performance. Regular maintenance and timely repairs not only enhance the aesthetic appeal of the yacht but also preserve its value and safety for years to come.